Showing posts with label Watercolor. Show all posts

Monday, November 12, 2018

Winter Hill die with Water Colored Northern Lights by Cindy Bristow

Winter Hill die with Water Colored Northern Lights
by Cindy Bristow
 
Howdy!
 
Today's share is a winter scene I created with my Color Splash pencils and a beautiful die cut.
 
 
I'm telling you, these watercolor pencils are awesome!  I have been playing with them more and more and am totally enjoying them. Today I created a Northern Lights background and then layered the 2 piece Winter Hills die cut over it for this stunning card.

 
Here is a list of products used to create my card:
I used pencils number 22, 23, 23, 27, 29, 30, 31, and 32
 
Thanks for stopping by,
Cindy 


Friday, November 2, 2018

Watercolor Coffee Helps by Cindy Bristow

Watercolor Coffee Helps
by Cindy Bristow
 
Howdy!
 
You guys know how much I love my coffee, so today I am sharing a no-line watercolor card I did with the Coffee Helps stamp set.
 
 
I stamped the cup and the rings with Oatmeal Cookie ink so that the actually stamping fades once you start adding your Color Splash pencils.  I will be doing a live video on my Facebook page,  a little later in the day, so make sure you head on over to catch that for exactly how I water colored this card.  I also uploaded it to my YouTube Chanel

 
Here are the links to all products used in this card:
 
pencil numbers 5, 6, 25, 27, 31, 45, & 47
 
Finished card also available in my Etsy shop.
 
Thanks for stopping by,
Cindy


Thursday, November 1, 2018

Watercolored Christmas Sprig with Cindy Bristow

Watercolor Christmas Sprig
with Cindy Bristow
 
Howdy!
 
Today's creative share is a card I created using the FSJ Christmas Sprig and my Journey Color Splash Pencils.
 
 
The Christmas Sprig stamp is becoming one of my favorite holiday stamps this year!  What's not to love?  Today I combined it with my Color Burst Watercolor pencils.  I tried the no line watercoloring with this card.  What's that, you ask? 
No-line watercoloring is when you stamp the image either with Clear Pigment Ink or with a lighter color of ink then the image is going to be colored with.  I stamped both of the poinsettias with Oatmeal Cookie ink so that once I began to add the color, the stamped lines are not visible.  You should try it!

 
FSJ products used in this card:
 
Christmas Sprig AT-0293
Journey Color Splash Pencils  JM-0078
Blending Brush  TO-0097
Journey Splash Watercolor Sheets  JM-0076
Dark Roast Silk  IP-0095
Oatmeal Cookie Ink pad  IP-0011
Green Olive cardstock  CS-0113
Oatmeal Cookie cardstock  CS-0023
 
Finished card is also available in my Etsy store.
 
Thanks for stopping by,
Cindy


Wednesday, October 31, 2018

Watercolor Martha's Pumpkins with Cindy Bristow

Watercolor Martha's Pumpkins
with Cindy Bristow
 
Howdy!
 
I've had this set sitting on my desk for a few weeks trying to find the time to work it into my creative rotation and today is the day!
 
 
I think I am in love! I gold embossed the largest pumpkin onto a Splash sheet and then used my Color Splash pencils to watercolor with.  These are the pencil number's I used:  3, 12, 13, 14, 21, 25, 39, 40, and 41.  I also flicked some Gold Silk onto it at the end.


Here are the links to the FSJ products I used:
 
Martha's Pumpkins SS-0587
 
Finished Card Available in my Etsy shop.
 
Thanks for stopping by,
Cindy


Thursday, October 25, 2018

Watercolor Fall Leaves card with Cindy Bristow

Watercolor Fall Leaves card with Cindy Bristow
 
Howdy!
 
I am enjoying my second cup of coffee this morning and thinking about how blessed I am, I mean really, I get to create pretty things all day!
 
Today I wanted to share a watercolor card that I created last week.
 
 
I used one of the leaves from  the FSJ stamp set Autumn Leaves, SS-0006.  I started by stamping the first leaf in the center of my Color Splash sheet with Clear Embossing Ink and added Journey Gold embossing powder.  After I heat set it, I stamped the outside leaves and added embossing powder and heat set.  When stamping an image 3 times, always start with the middle image so you can space the outside images the same distance from the middle one.
After heat embossing, I grabbed my Journey Color Splash pencils (these are the watercolor ones) and pulled out a green, aqua, blue, a couple of yellows and a red.  I started with the leaves by painting the leaf with plain old water ( this helps the color move) and then used my water brush to pick up the color straight from my pencil lead and drop it into the leaf.
Once all the leaves where done and dry, I started playing with my background.  I put down a layer of water, added the lightest yellow, let it dry and then repeated the step with the darker yellow and then the red.  To finish the panel, I flicked some of the blue watercolor onto the background.
 
 
Here are the FSJ ingredients and dimensions for my card:
 
Autumn Days Stamp set  SS-0006
Journey Color Splash Pencils  JM-0078
Journey Gold Embossing Powder
Journey Color Splash Sheet 4-3/4 x 3-1/2
Denim Days cardstock  4-7/8 x 3-5/8
Whip Cream cardstock base 5-1/2 x 8-1/2
Clear Embossing inkpad
 
If you have any questions or would like to order any of the products I used in this card, email me at:
 
Finished card is available in my Etsy store.
 
Thanks for stopping by,
Cindy


Thursday, October 18, 2018

Watercolor Autumn Days Card with Cindy Bristow

Watercolor Autumn Days with Cindy Bristow
 
Howdy!
 
It's cool and cloudy here in South Texas and I am moving at the rate of a slug.  I am going to blame it on the weather because it is not due to lack of caffeine.  I am enjoying my second cup of coffee and might even help myself to another once this one is finished.
 
 
Remember last week when I said I was going to be using some of my forgotten stash?  Well that is just what I did this morning.  I grabbed my Color Splash pencils and my much loved Autumn Days stamp set (SS-0006).  Autumn Days is one of my all time favorite stamp sets, even though it has Autumn in the title, I use it all year round.
 
 
I only used 2 of the leaves from the set and stamped them with Clear Embossing ink onto a Color Splash Sheet, sprinkled them with Gold embossing powder and heat set them with my Heat Tool.  Then I pulled out my Color Splash pencils and Blending brush.
 
After I finished watercoloring the image, I sprinkled it with Gold Silk and Cranberry Bliss silk.  The embellishment over on the right is made with (3) 1/8 inch strips of Raspberry Berry cardstock, a gold piece of Bloom-fetti ( I finally found a use for that stuff) and then topped of with a red gem from my Rainbow Drops.

 
Here are the dimensions for my card:
 
Color Splash Sheet:  3-3/4 x 5
Raspberry Berry cardstock 3-7/8 x 5-1/8
Oatmeal Cookie cardstock base 5-1/2 x 8-1/2
 
If you have any questions, or would like to order any of the products I used in this card, please email me at :
 
Thanks for stopping by,
Cindy


Friday, October 12, 2018

Watercolor Peach Blossom with Cindy Bristow

Watercolor Peach Blossom with Cindy Bristow
 
Howdy!
 
It's Friday morning, I have had 2 plus cups of coffee and life is good.
 
Yesterday I told you that I was vowing to use some of my forgotten product and I am doing it!!!  I wanted to share the card I made this morning using my Color Splash pencils and my Peach Blossom stamp set (SS-0342). 
 
 
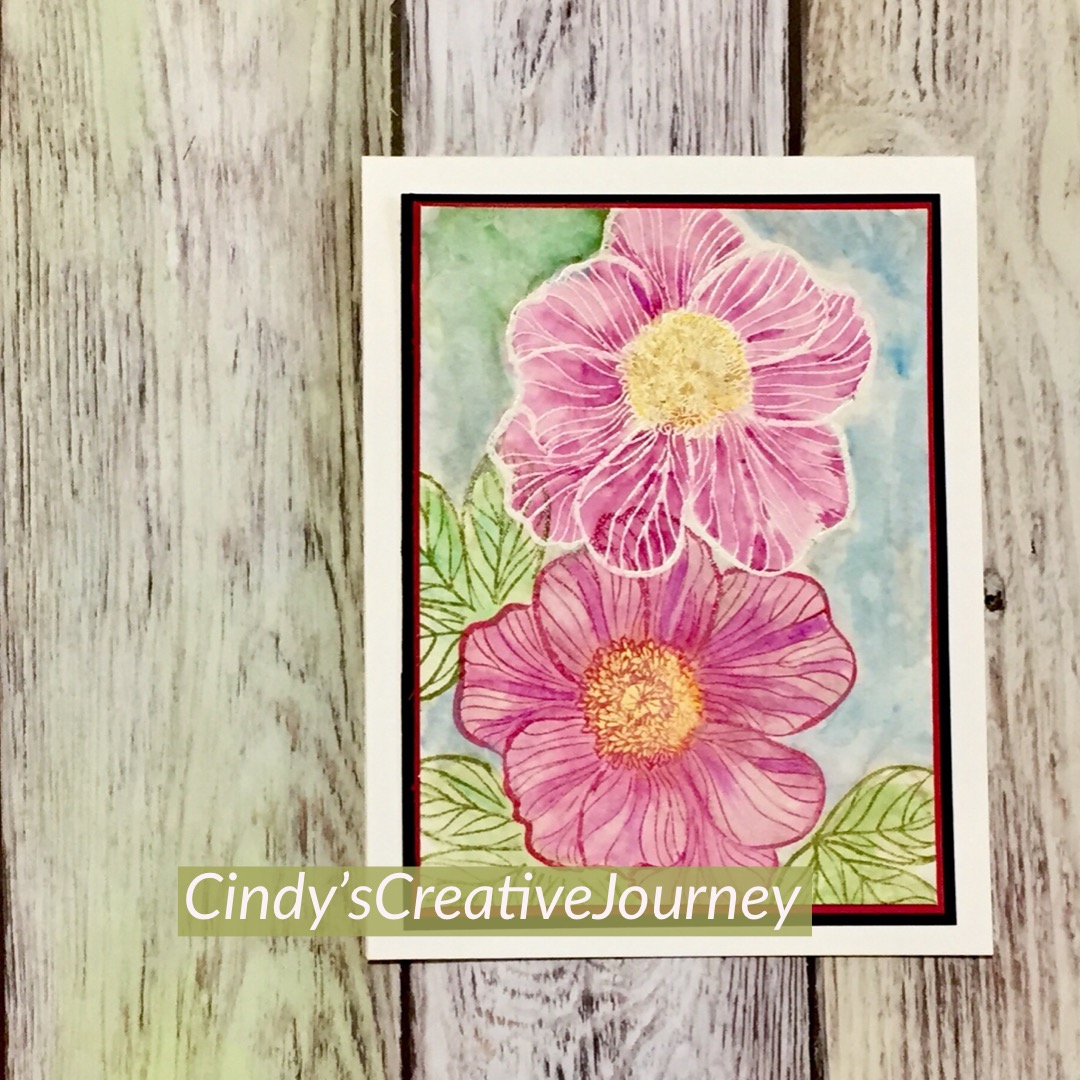
I know I have told my Coloring your Creative Journey class that I love to use Pinterest to find new color schemes, but I also love to use it to find info on techniques.  Last night I looked up watercolor cards and blew my mind!  This card is using the resist technique.  I stamped the bottom flower and leaves with Sweet Berry and Green Olive ink.  Then I pulled out the Whip Cream pigment ink and White embossing powder to stamp the top flower.  When you are stamping white on white, it's hard to see exactly where your image is... in my opinion, I should have stamped that top flower more to the right for a better balance.

 
I really like the results I got with the resist method. Notice on the top flower (the resist image) how the color has pooled in some of the detail lines?  I think it adds more interest to the flower.  I tried to recreate that with the bottom flower, but the results just aren't as stunning.
 
Dimensions for my card are: 
Color Splash Sheet  3-1/2 x 4-3/4
Sweet Berry cardstock  3-5/8 x 4-7/8
Black Licorice cardstock  3-3/4 x 5
Whip Cream cardstock base 4-1/4 x 11
 
If you have questions or would like to order any of the product I used in this card, please email me at:
 
Thanks for stopping by,
Cindy


Thursday, October 11, 2018

Watercolor Poppies with Cindy Bristow

Watercolor Poppies with Cindy Bristow
 
Howdy!
 
It's been a great morning here in South Texas, the sky is clear and the temperature is a lovely 76.  The mosquitos on the other hand are way out of control!!!!  I wonder if anyone makes a mosquito stamp set?.....
 
 
Do you ever buy something and then it just sits there?  I mean you just had to have it,  you played with it a few times, but then it gets put away or buried?  I do it all the time and I have vowed that I am going to start showing some of my forgotten crafty toys some much needed love.
 
One of the toys I need to show some love to is my Journey Color Splash pencils- those are the watercolor ones.  I just had to have them, and in fact, I have multiple sets... and they are all in a drawer.  So today, I pulled them out along with a stamp set that I haven't used in a long time, Poppy Days (SS-0346). 
 
 
I stamped the flowers with Black Licorice on a Color Splash sheet making sure to leave a space for the sentiment.  The sentiment comes form the Chosen Family stamp set (SS-0458).
 
Now, remember that I haven't been watercoloring on a regular basis, so this was a relearning time for me.  The first thing I did was use a media mister to wet my splash sheet a bit.  This helps the watercolors move around a bit.  I then used a blending brush filled with water directly onto the tip of my pencil and dropped some color onto my flower images.  Because the splash sheet is wet, you can move the color around and fill in the images. It's ok if you go outside the lines... it is watercolor.

 
After I finished watercoloring, I dried the panel with my heat gun.  The splash panel was layered onto Black Licorice cardstock.  I wrapped black velvet ribbon around a Whip Cream cardstock panel and popped it up on a Whip Cream card base.
 
That's it- a simple and elegant card. 
 If you have questions or would like to order any of the product, please email me at:


I hope you enjoyed it and thanks for stopping by!
Cindy


Thursday, February 23, 2017

Guardian Angel Watercolor Card

Hello Creative Friends,

Today I am sharing a card using the same background stamping technique that I shared earlier in the week. 

See all those little crowns, well they are 3 small little stamps that come in this stinking cute set, Guardian Angel, SS-0185.  My first thought was to give the angel a crown, and then, I had a ah ha moment and thought, let's use them for my background! 

 
I did a video for you on exactly how to create this card!  Here are the numbers of the Color Splash pencils I used, so you can play along! 
06, 08, 09, 12, 14, 18, 23, 25, 34, and 38
 
 
I hope you enjoyed today's video.  As always, if you would like to purchase any of the items I used in the video, I have links listed below.
 
Pineapple Smoothie CS, Pool Play CS, Whip Cream CS, Black Licorice Ink, Bubble Gum Satin Ribbon, Blue Skies Sequins
 
Thanks for stopping by,
Cindy